|
|
|||||||||||||||||
|
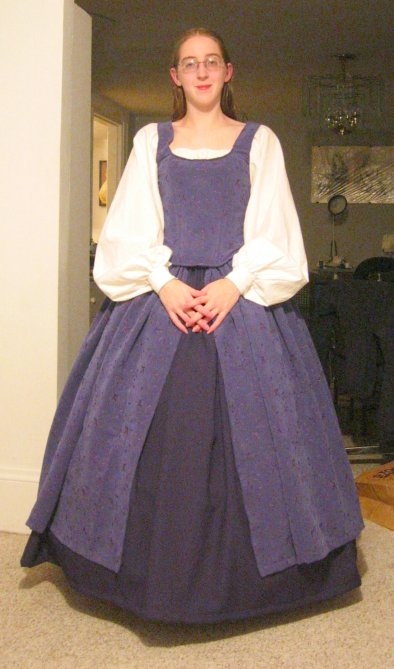
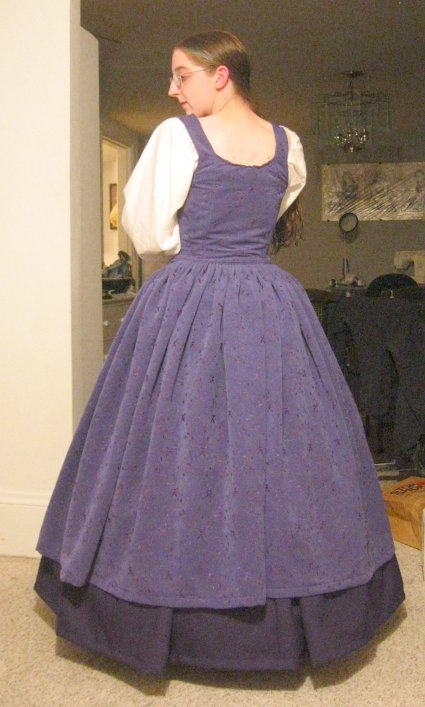
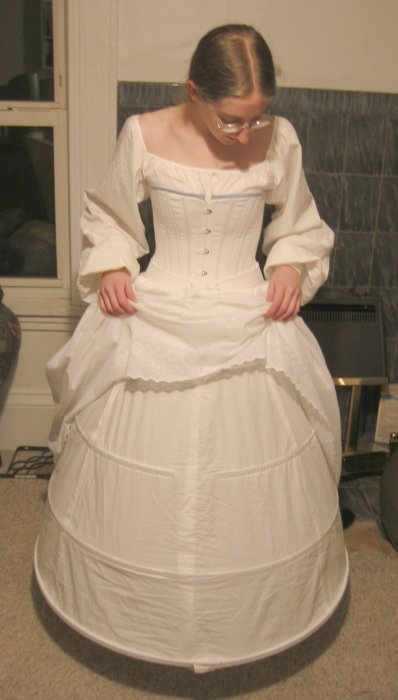
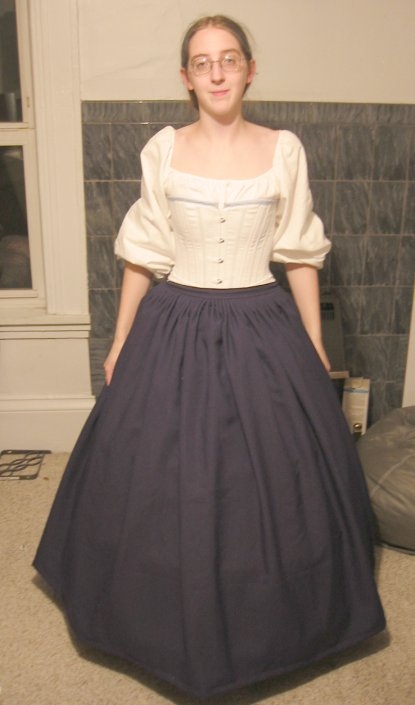
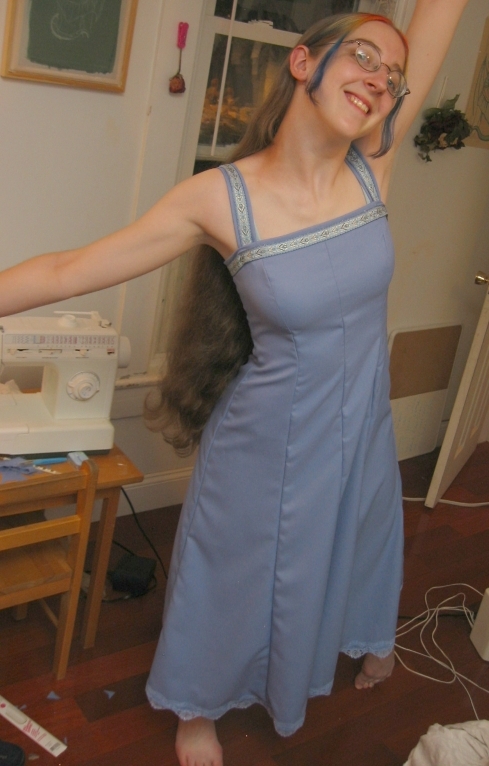
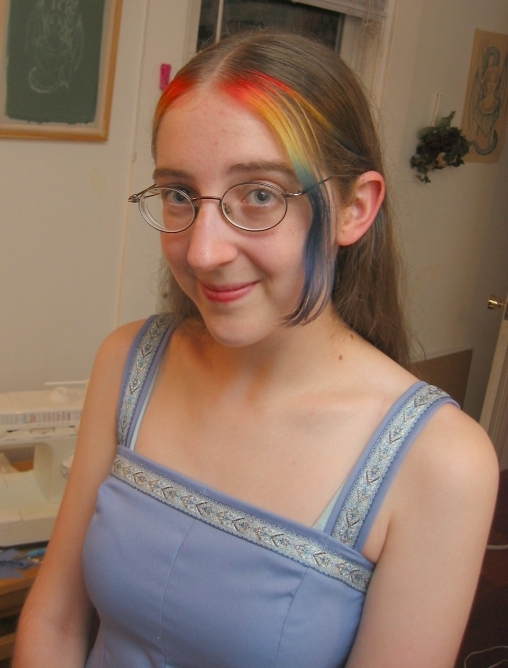
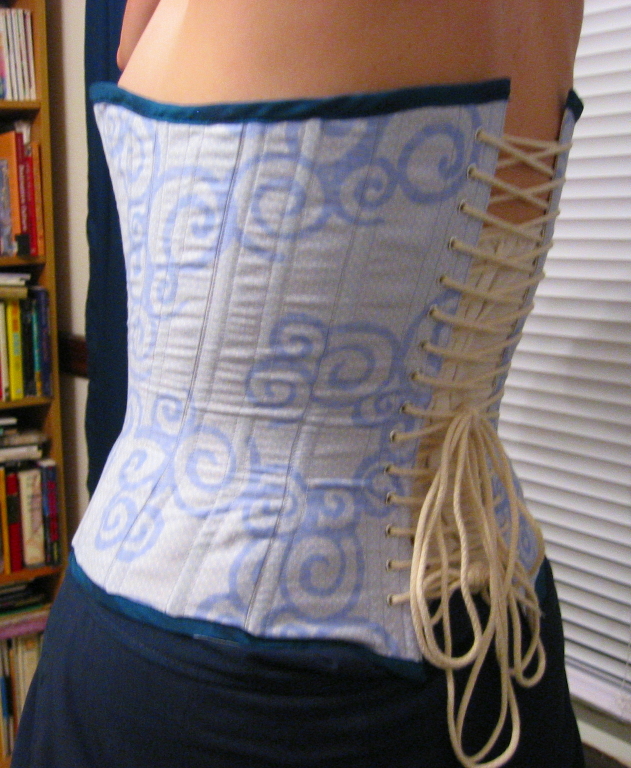
The whole ensemble is composed of 6 layers. First, a chemise with hand-pleated neckline and sleeves (the sleeves have two sets of buttons so I can wear them at my wrist or elbow), over which goes the corset. This is the only piece I used a pattern for (purchased from Laughing Moon Mercantile). Over this I put on the hoop skirt itself, followed by a petticoat to help the hoops not show through to the skirt layers. I have an underskirt for added bulk and accent color in the front/hem. The top layer is the full dress, whose skirt and bodice are stitched together at the waist. The chemise shows through in the sleeves and neckline. Both skirts (not the petticoat or hoop) are cartridge pleated. I have discovered the wonders of how to bring four yards of fabric to fit a 28" waist. This dress was not intended to be period accurate (it zippers up the side!) . I took from styles I liked here and there, and added some touches out of my head. And I hope to make a new one within the next year (luckily I don't have to make another hoopskirt or corset) .
Hop over to the "Other" section to see the mask I later made to accompany this dress. 
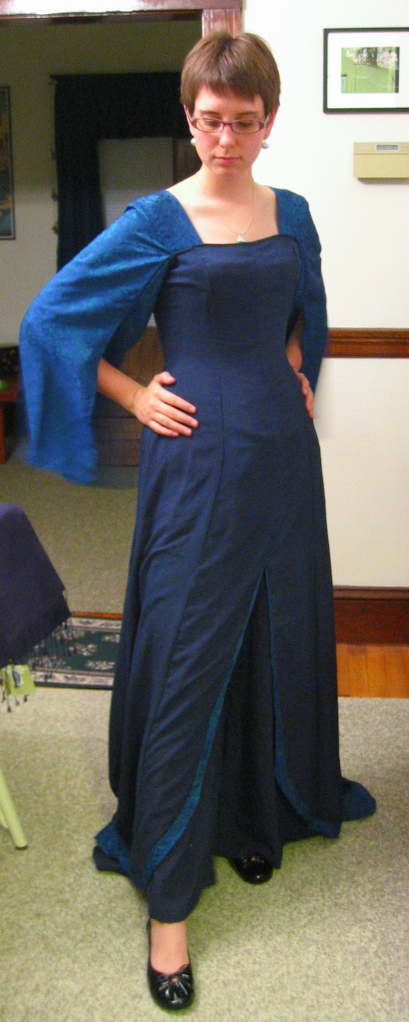
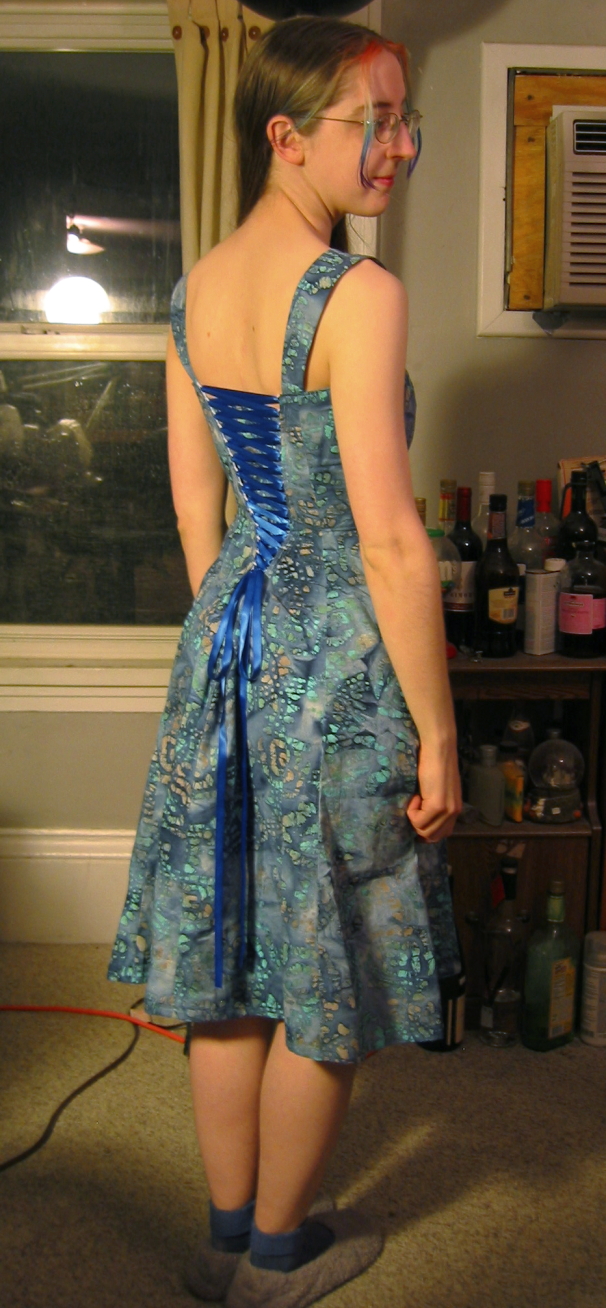
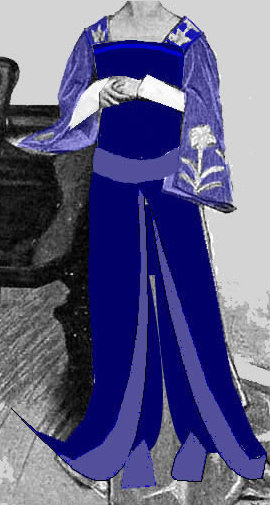
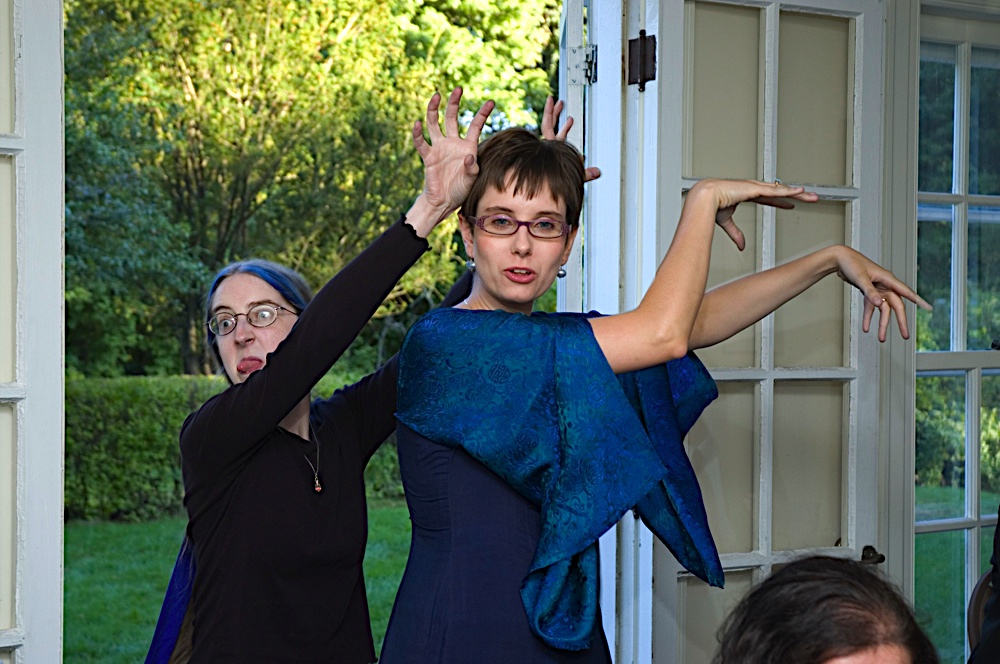
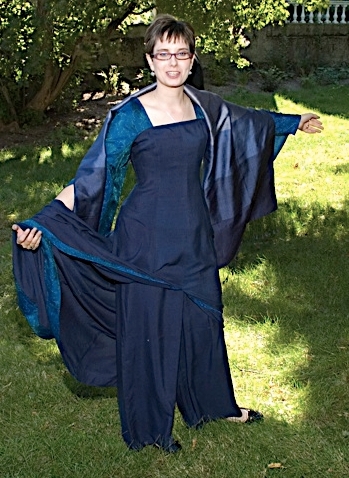
The Teal Ballgown I tried box pleating the overskirt this time for a different look than the cartridge pleats. It ended up looking different from what I expected (the pleats unfurled in a particular way), which was due both to me not ironing them down, and also from the type of fabric I was using. I'de like to try the look again with cotton, ironed. This skirt has pocket slits on both sides. Under the dress I'm wearing pockets that tie on at the waist. It will be easier to include pocket slits in all my skirts (rather than full pockets), and not have to shuffle things around in the pockets from dress to dress. I think I need another petticoat underneath to help the skirt bell out more, rather than hang, though. 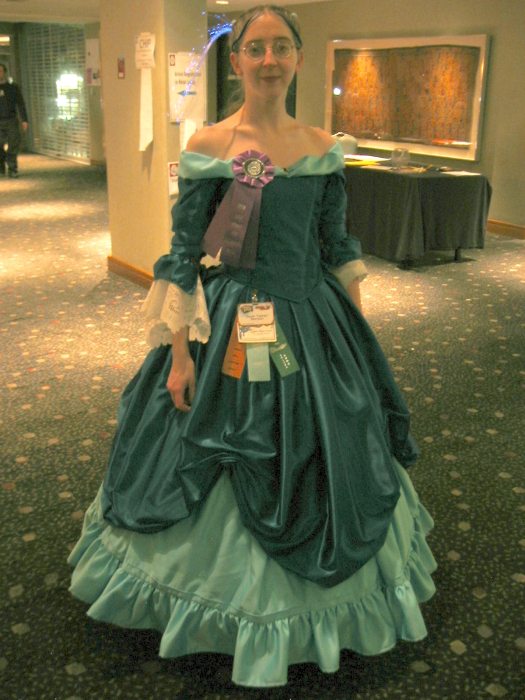
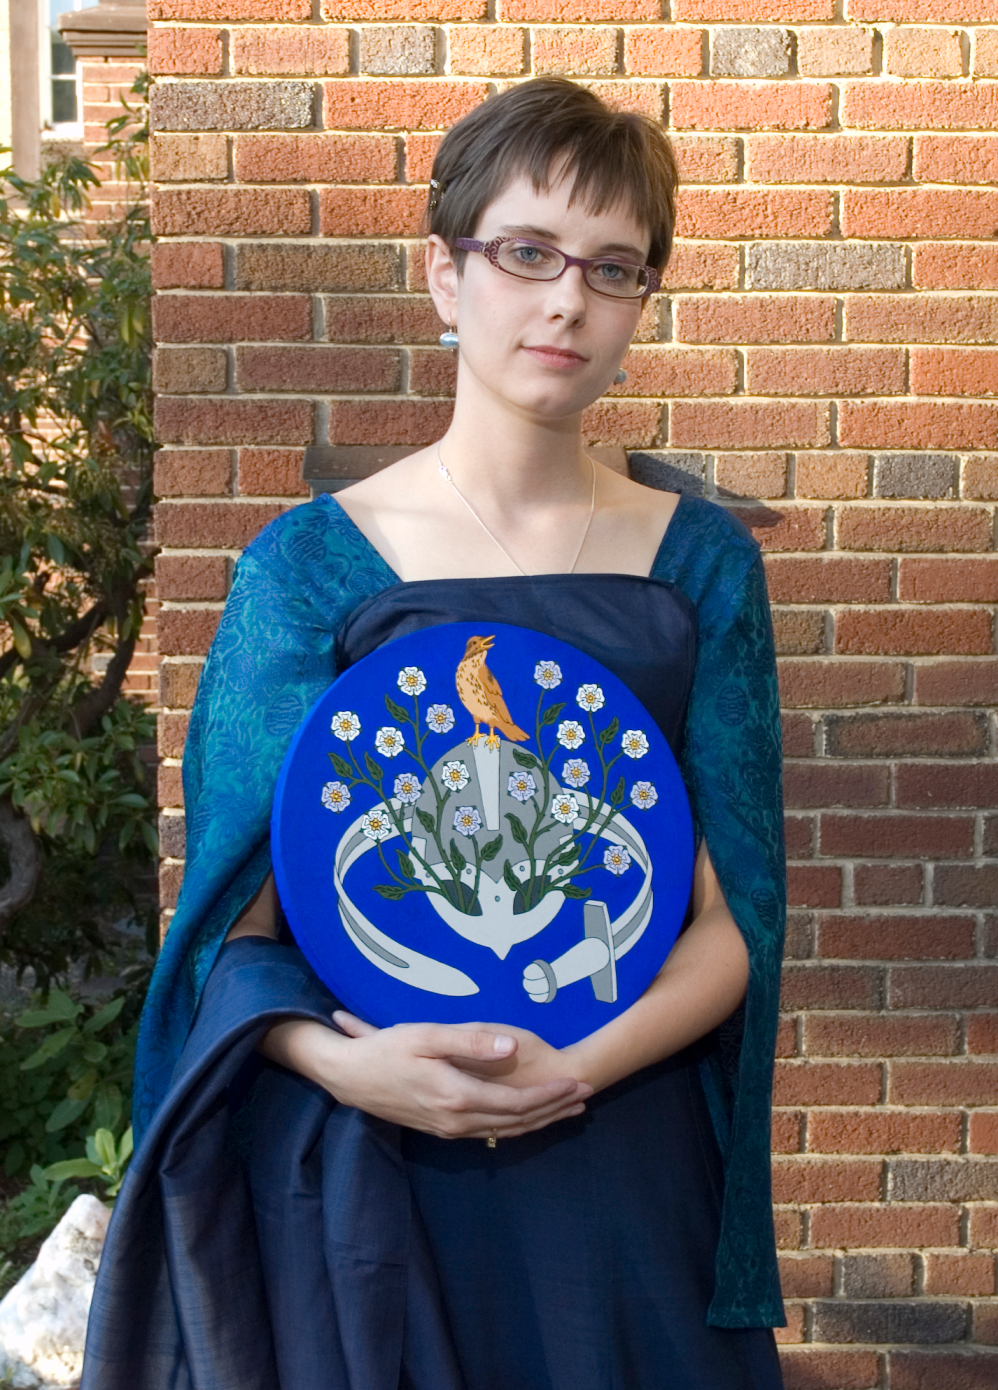
The neckline gave me hell. I had no real plan on how to achieve what I drew in my original sketch, and was still completing it the day of the con. It worked out alright, although it twists slightly. I bought doilies for my sleeves, and cut holes in them slightly off-center so they hung further in the back than the front. The green oversleeve did not turn out how I was planning, due to being cut from a straight piece rather than a curved one (something I may replace someday, or try again on a new dress). Eric in the Elevator, the Fan Performer Guest of Honor, liked my dress so much that he snuck a Hall Costume Award ribbon on me while we were having our photo taken. The Northern Light's Costumers' Guild gave me a ribbon this year as well. Hurrah!

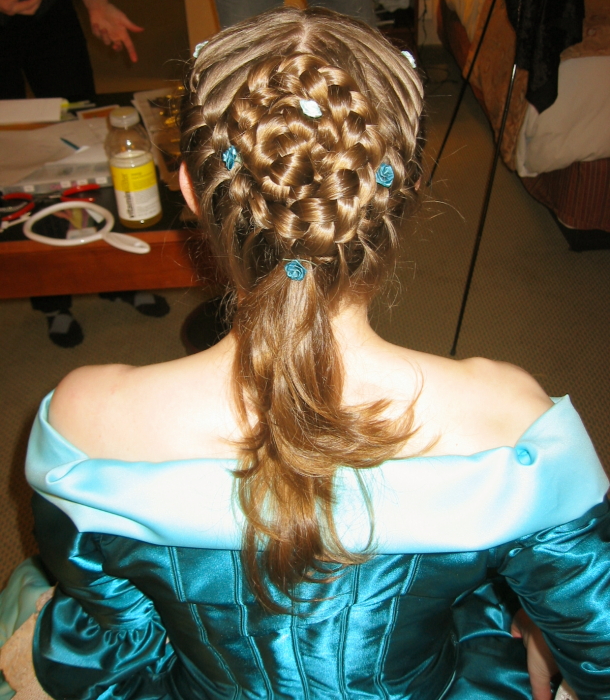
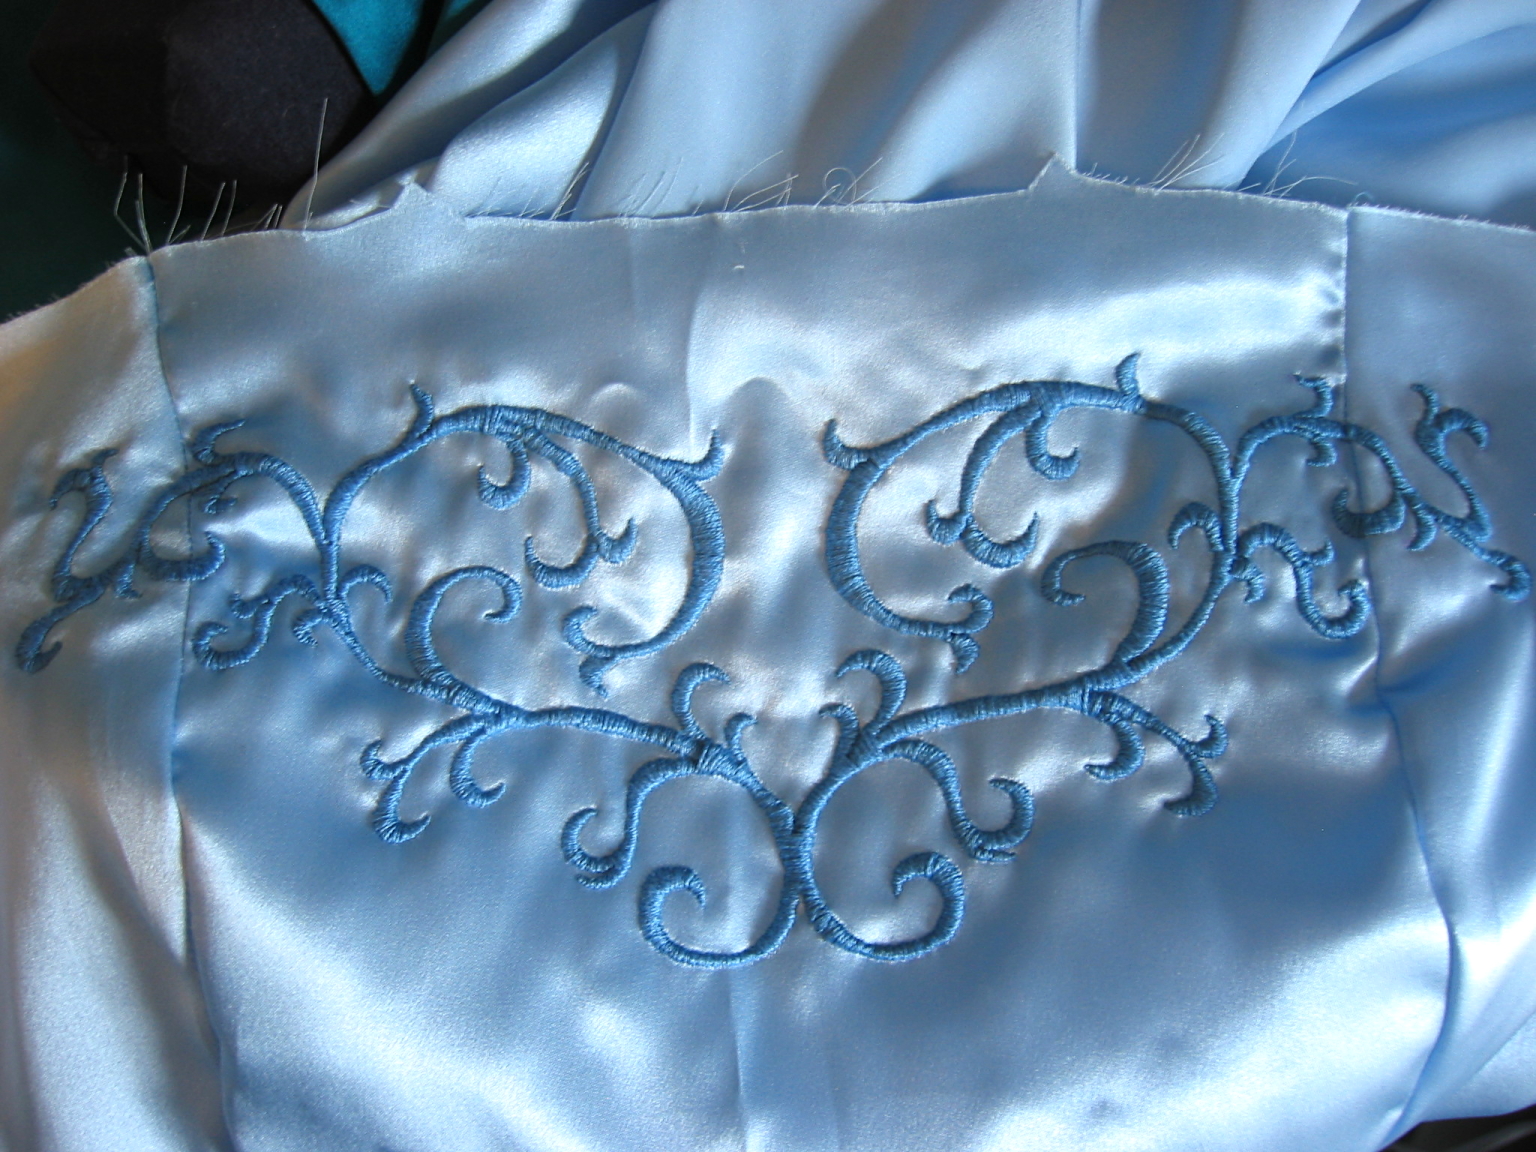
I had my hair done up at Spicy Braids in order to show off the pleating that goes down the back of the dress. I somehow didn't get any photos of the pleats, though. So I'll get one later. I tried to do a robe a l'anglais back, with the pleats running from the neckline all down the back (one piece of fabric, rather than the bodice being separate from the skirt).
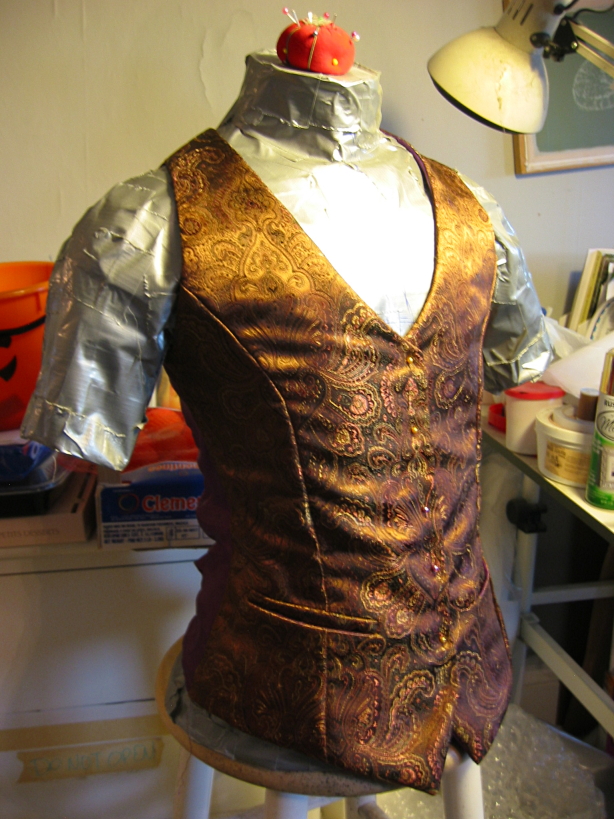
My Steampunk Balldown And once again, I took up embroidery.  I embellished the jacket a ton even aside from the embroidery. I designed and ordered laser-cut buttons and painted them to seem brassish (I used nailpolish, but later found some nicer paint I wish I'd known about). I braided and sewed on frogs around old fashioned brass clasps to use for the front closures.
 I also modified a crazy nifty pair of glasses. I bought two cheap pairs of glasses online and merged them together (I guess this would be the third major stumbling block, since I needed an epiphany to figure out the hinge mechanism, and ended up figuring out one far simpler and elegant than my previous scribbles). The clear lenses are prescription, and the purple ones not. The purple pieces each can twist upward and down to the sides, and then fold back against the arms of the glasses. 
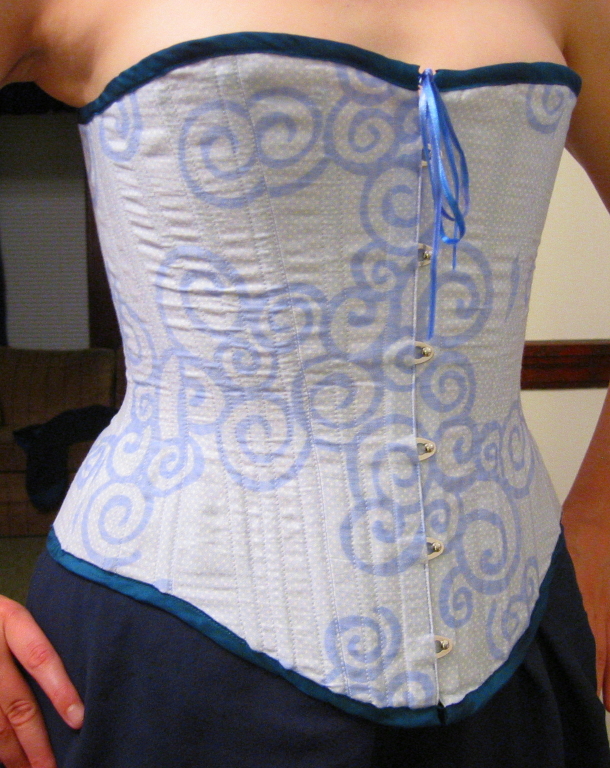
After finishing the Steampunk Dress, I had resolved to refocus my time on painting Master Copies, and set aside dressmaking for a bit. But then I was invited as the Artist/Costumer Guest of Honor at Pi-Con. It was an honor for which I felt it was fitting to go ahead and create for the convention the next dress that was already rattling around in my head. The design of this one began entirely with the thought: what if I made paned sleeves [a style from the 16th and 17th centuries] with ribbon cables in place of fabric ribbon? Everything else just spiraled outward from there, as I picked bits and pieces of historic designs and figured out what else I could make them out of to be sort of cyberpunkish. The next element was the stomacher, which needed to be a circuit board (originally intended to be cut from a real one). The peplum at the bottom of the bodice is made from clear vinyl. I find myself amused as some of the elements I ended up using. I'm not really into puffy sleeves, for one, and especially not the swoopy trim near the bottom of the skirt, but the elements worked really well with this design and I felt I just had to use them. As I neared completion, the dress never quite encapsulated the "punk" of cyberpunk, and ended up being named Cybertech instead. I had originally started looking into how to make the squares at the bottom of the skirt each be little controllable screens, but the cost and digital involvement ended up being more than I could feasibly do, so I focused on installing a screen on the stomacher, instead. My stipulations were that it would be able to show some animations, primarily static, and nerdy things like NyanCat, and videogame playthoughs. It turned out that the easiest way to accomplish the effects I wanted was to use a cell phone, which opened up a whole new direction of interactivity. 
I also wanted LEDs incorporated into the circuitboard, that could blink various patterns. I ended up getting a lot of help from Jimmy at the Artisan's Asylum's Free Circuit Hacking on Wednesday nights. I also have some touch-sensitive LEDs up the spine of the bodice, thanks to a gift certificate for ThinkGeek. Over the years, a couple of forms of undercarriage lighting have been installed in the hoop that I wear under most of my dresses. They look great with the Teal Gown, and even better under the Cybertech Dress. They make me look like I'm floating. Unfortunately, these lights, as well as the stomacher LEDs, were out of commission for the actual convention, much to my dismay for the unveiling of this project. (And a rough start to getting the cell phone wifi-enabled led to some additional silliness in getting the dress's additional eyecandy working.) They've since been fixed. While not as time-consuming to make as my Steampunk Gown, this one invoked the comment that my dresses are "fractally complex", which thrills me. As you look closer and closer you find new depths of interest. Like the fact that I printed a circuit-board damask pattern on the skirt fabric (using laser cut tiling pieces that I spray painted). Clearly, I need a video of this one. |
||||||||||||||||
|
All images and content herein are © Sarah Morrison,
2019. |


